
 Spanish
 CALL FOR A QUOTE
Re-purposing Split Rail Fence
Don't toss it—transform it! Discover the hidden value in your old fence.
🌟 Key Takeaways
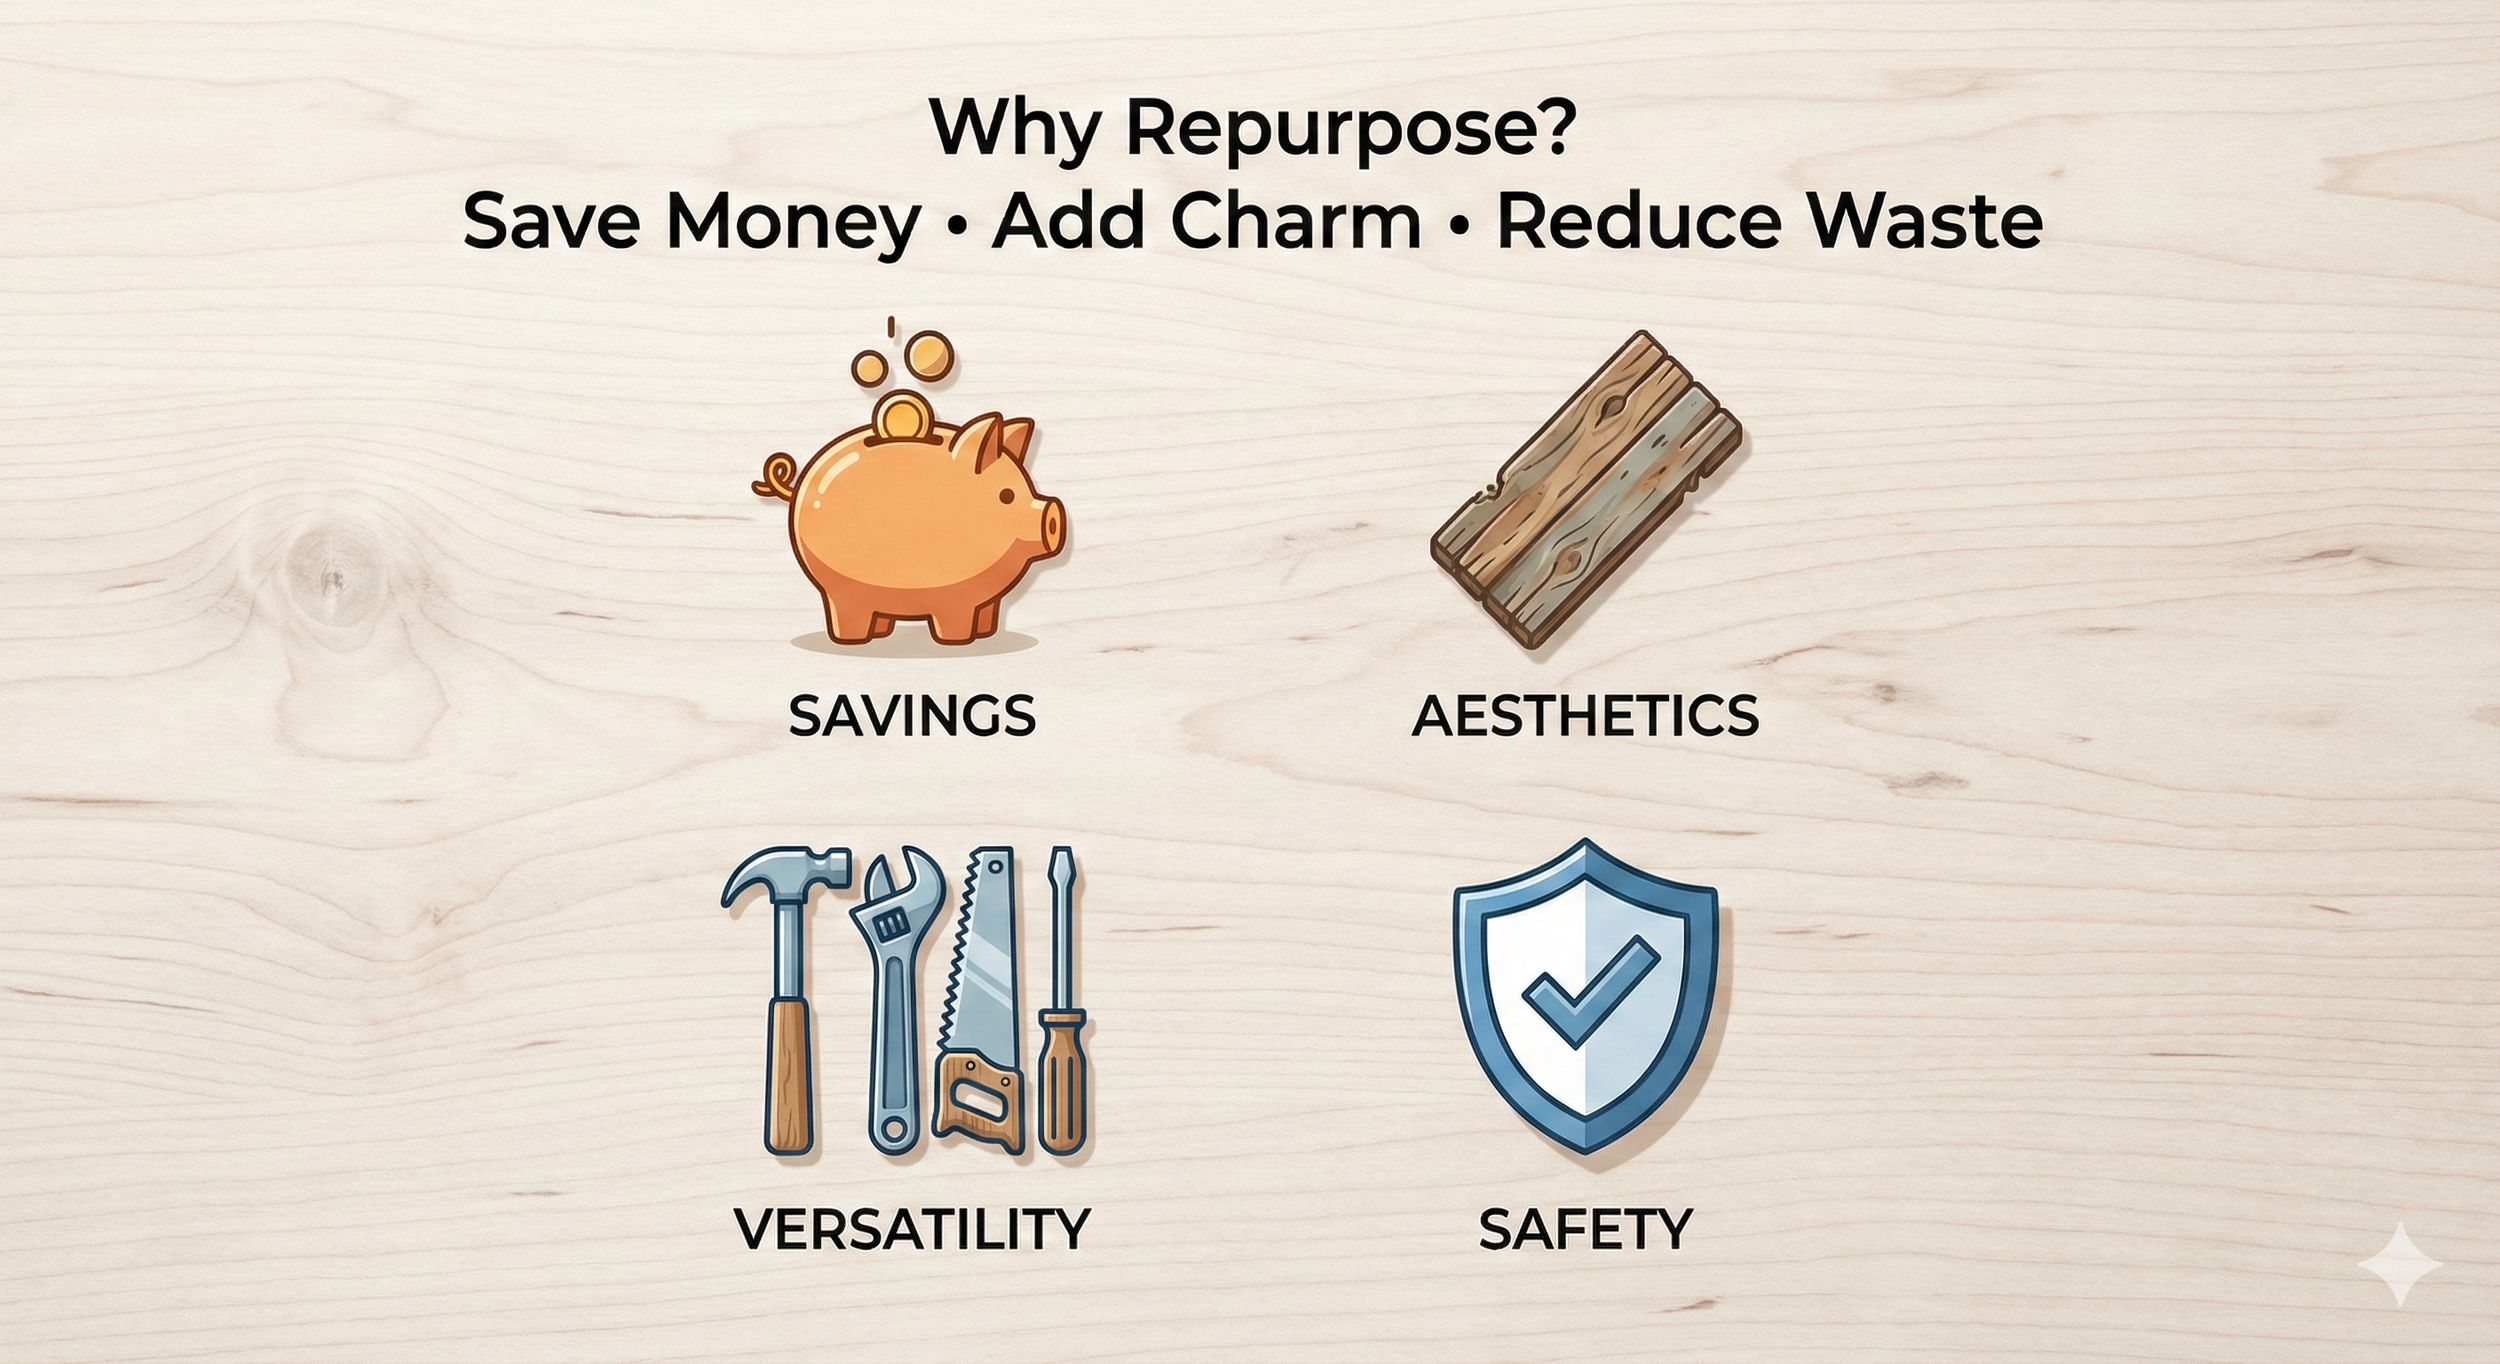
Cost-Effective: Reusing old fencing saves money on lumber for garden projects.
Aesthetic: Weathered wood adds instant rustic charm that new lumber lacks.
Versatility: Old rails work for everything from simple signage to complex pergolas.
Safety First: Never burn pressure-treated wood; repurpose it for outdoor structure instead.
There is immense satisfaction in giving old materials new life. If you are tearing down an existing split rail fence, don't rush to the dump! Whether you have weathered cedar or pressure-treated pine, that wood has character.
Below, we’ll explore six rustic DIY projects to transform your old fence rails and posts into garden treasures.
Lots of people get great satisfaction from re-purposing the old to give it a new life. Read this blog to get tips and tricks for re-purposing split rail fence if you are tearing down an existing fence!

Safety First: Never burn pressure-treated wood.
Can You Burn It? A Guide to Using Fence Scraps for Kindling
If you aren't building a project, your first instinct might be to toss the scraps into the fire pit. While old split rail fencing is often bone-dry and lights easily, you need to be careful.
⚠️ The Golden Rule: Know Your Wood Many older fences are made of Pressure Treated Pine, which is infused with chemicals (like copper and arsenic) to prevent rot. Never burn pressure-treated wood. It releases toxic chemicals into the air that are dangerous to inhale and can contaminate your soil through the ash.
How to Tell if It's Safe to Burn:
The "Green" Test: Look at a fresh cut of the wood. If you see a greenish tint, it is likely pressure-treated. Do not burn.
The Smell Test: If you cut into it and it smells like chemicals or "oily," toss it. If it has a distinct, pleasant aromatic scent, it is likely Cedar or Black Locust. These are safe to burn and make excellent fire starters.
The Weight Test: Cedar is generally very lightweight. Treated pine often feels heavier and denser.
How to Process Safe Scraps: If you have confirmed your wood is natural Cedar or Locust:
Use a Hatchet: Old fence rails are often hardened by the sun. Stand the rail vertically on a chopping block and use a sharp hatchet to split off thin slivers.
Keep it Dry: Even though the wood is old, the core might still hold moisture if it was lying on the ground. Stack your split kindling in your new Kindling Holder (see above!) for a few days before use.
Summary:
Natural Cedar / Locust: ✅ Great for Kindling.
Greenish / Treated Wood: ❌ TRASH only. Do not burn.
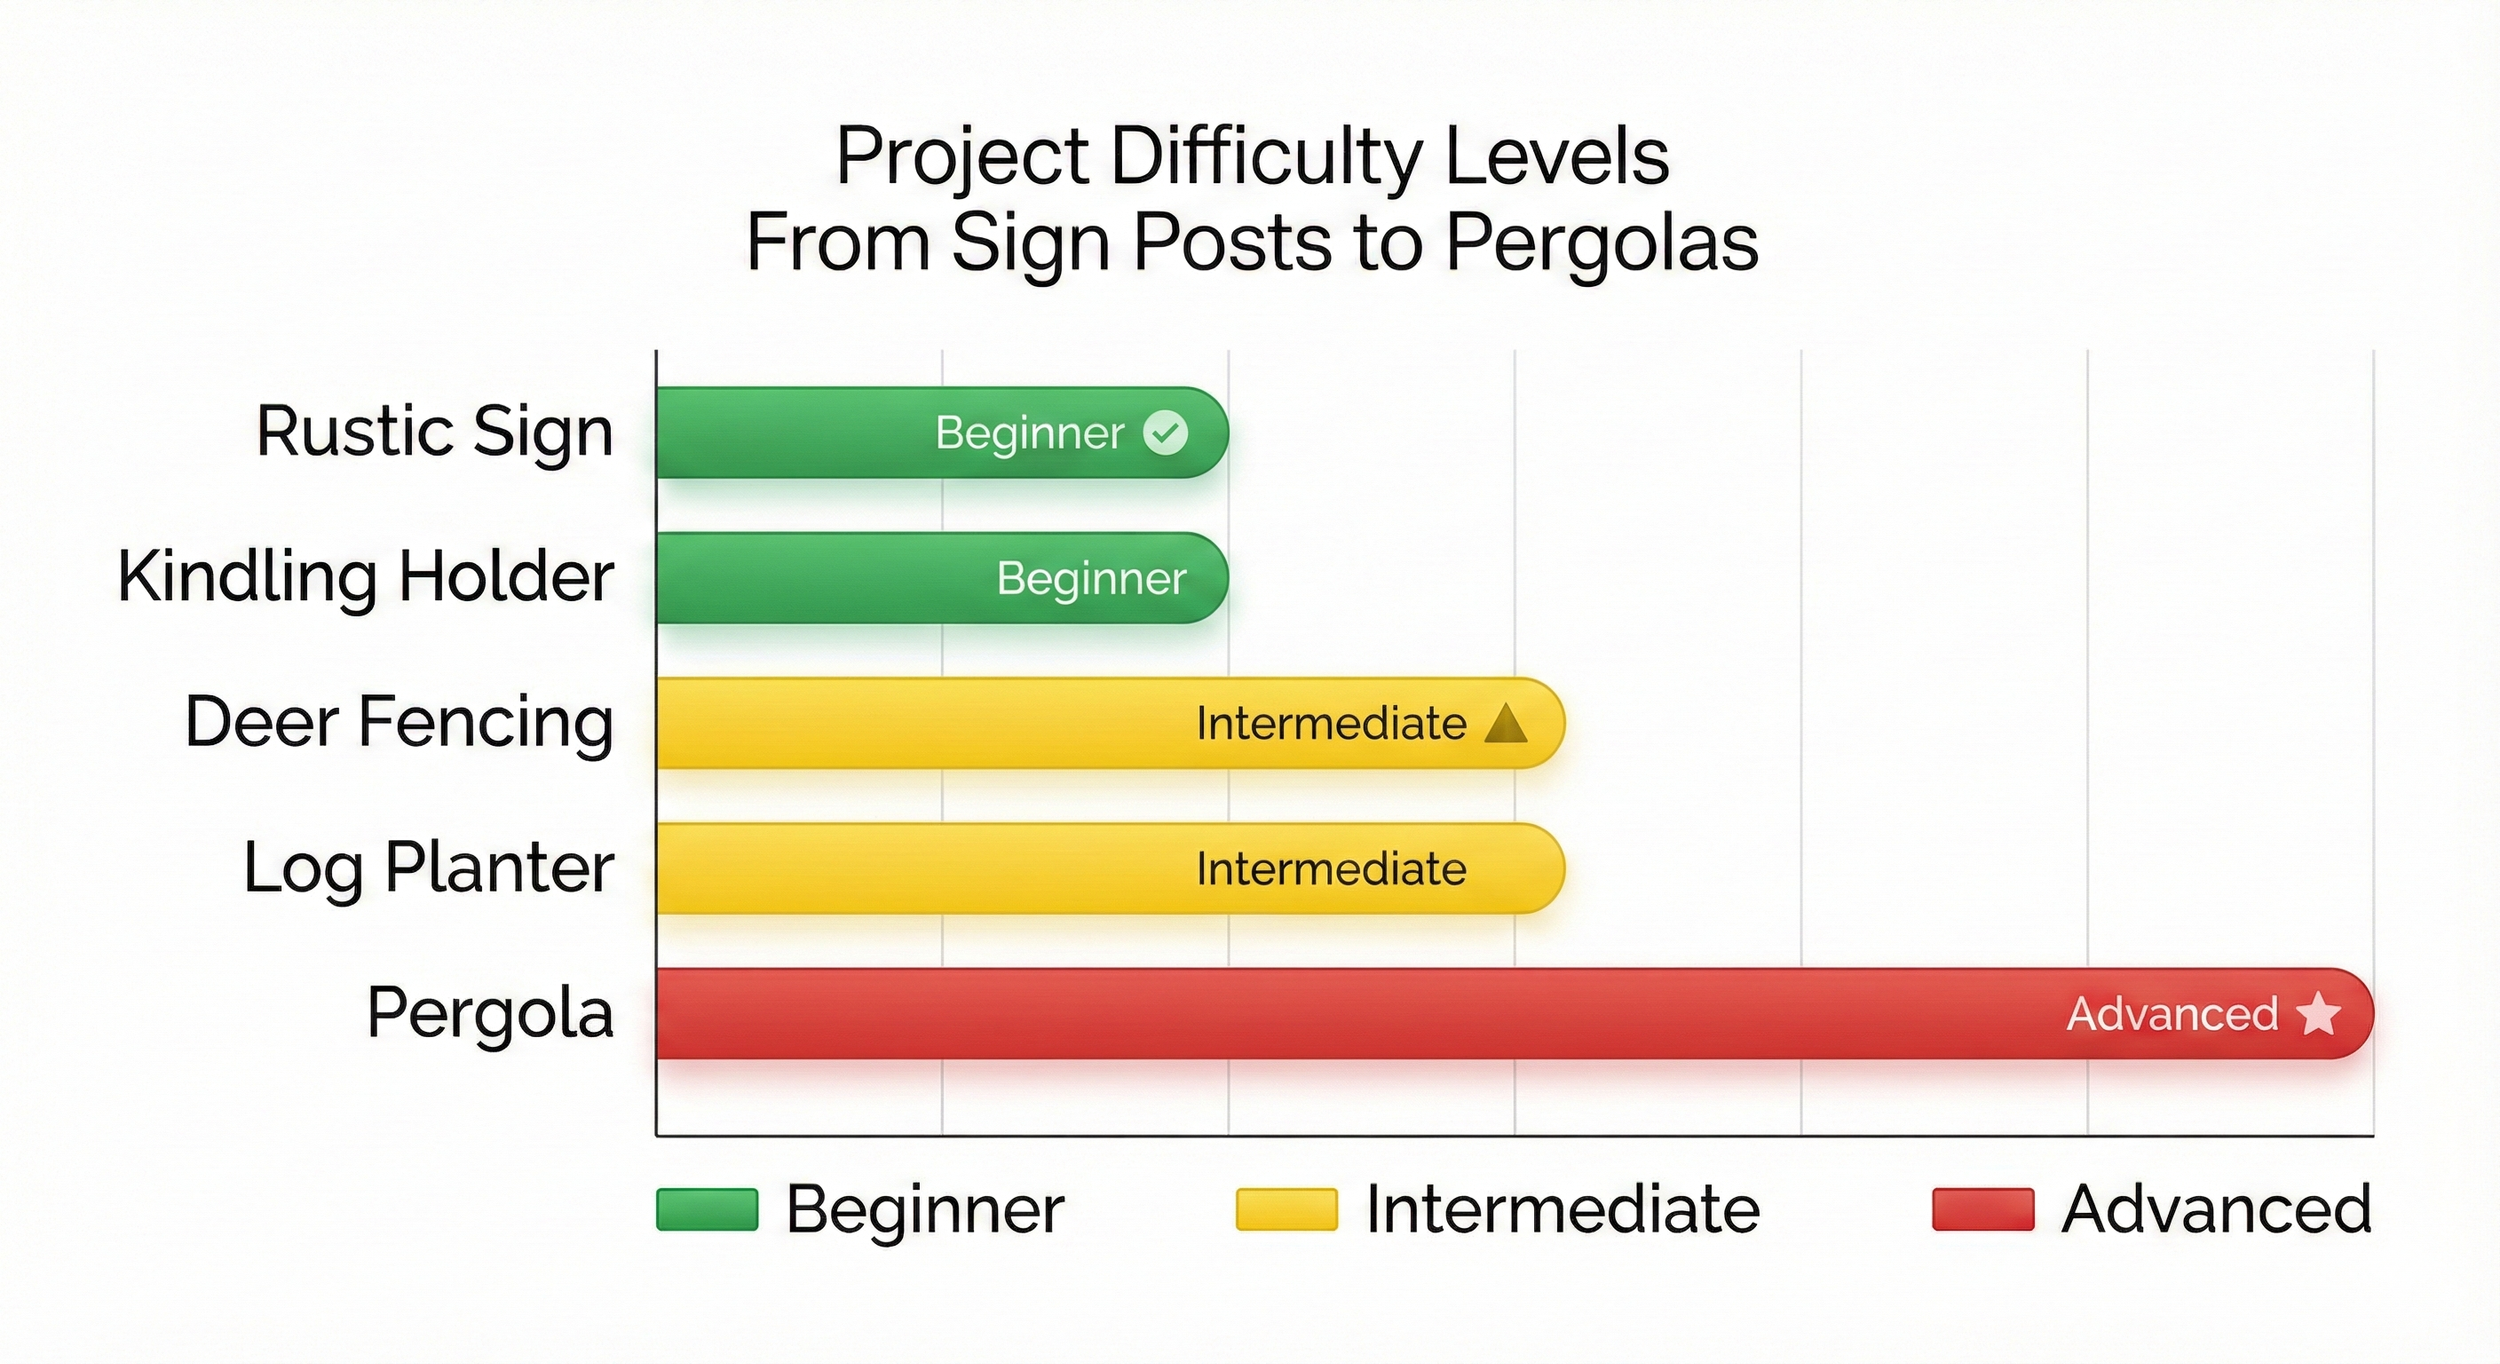
Choose the project that fits your skill level and toolset.
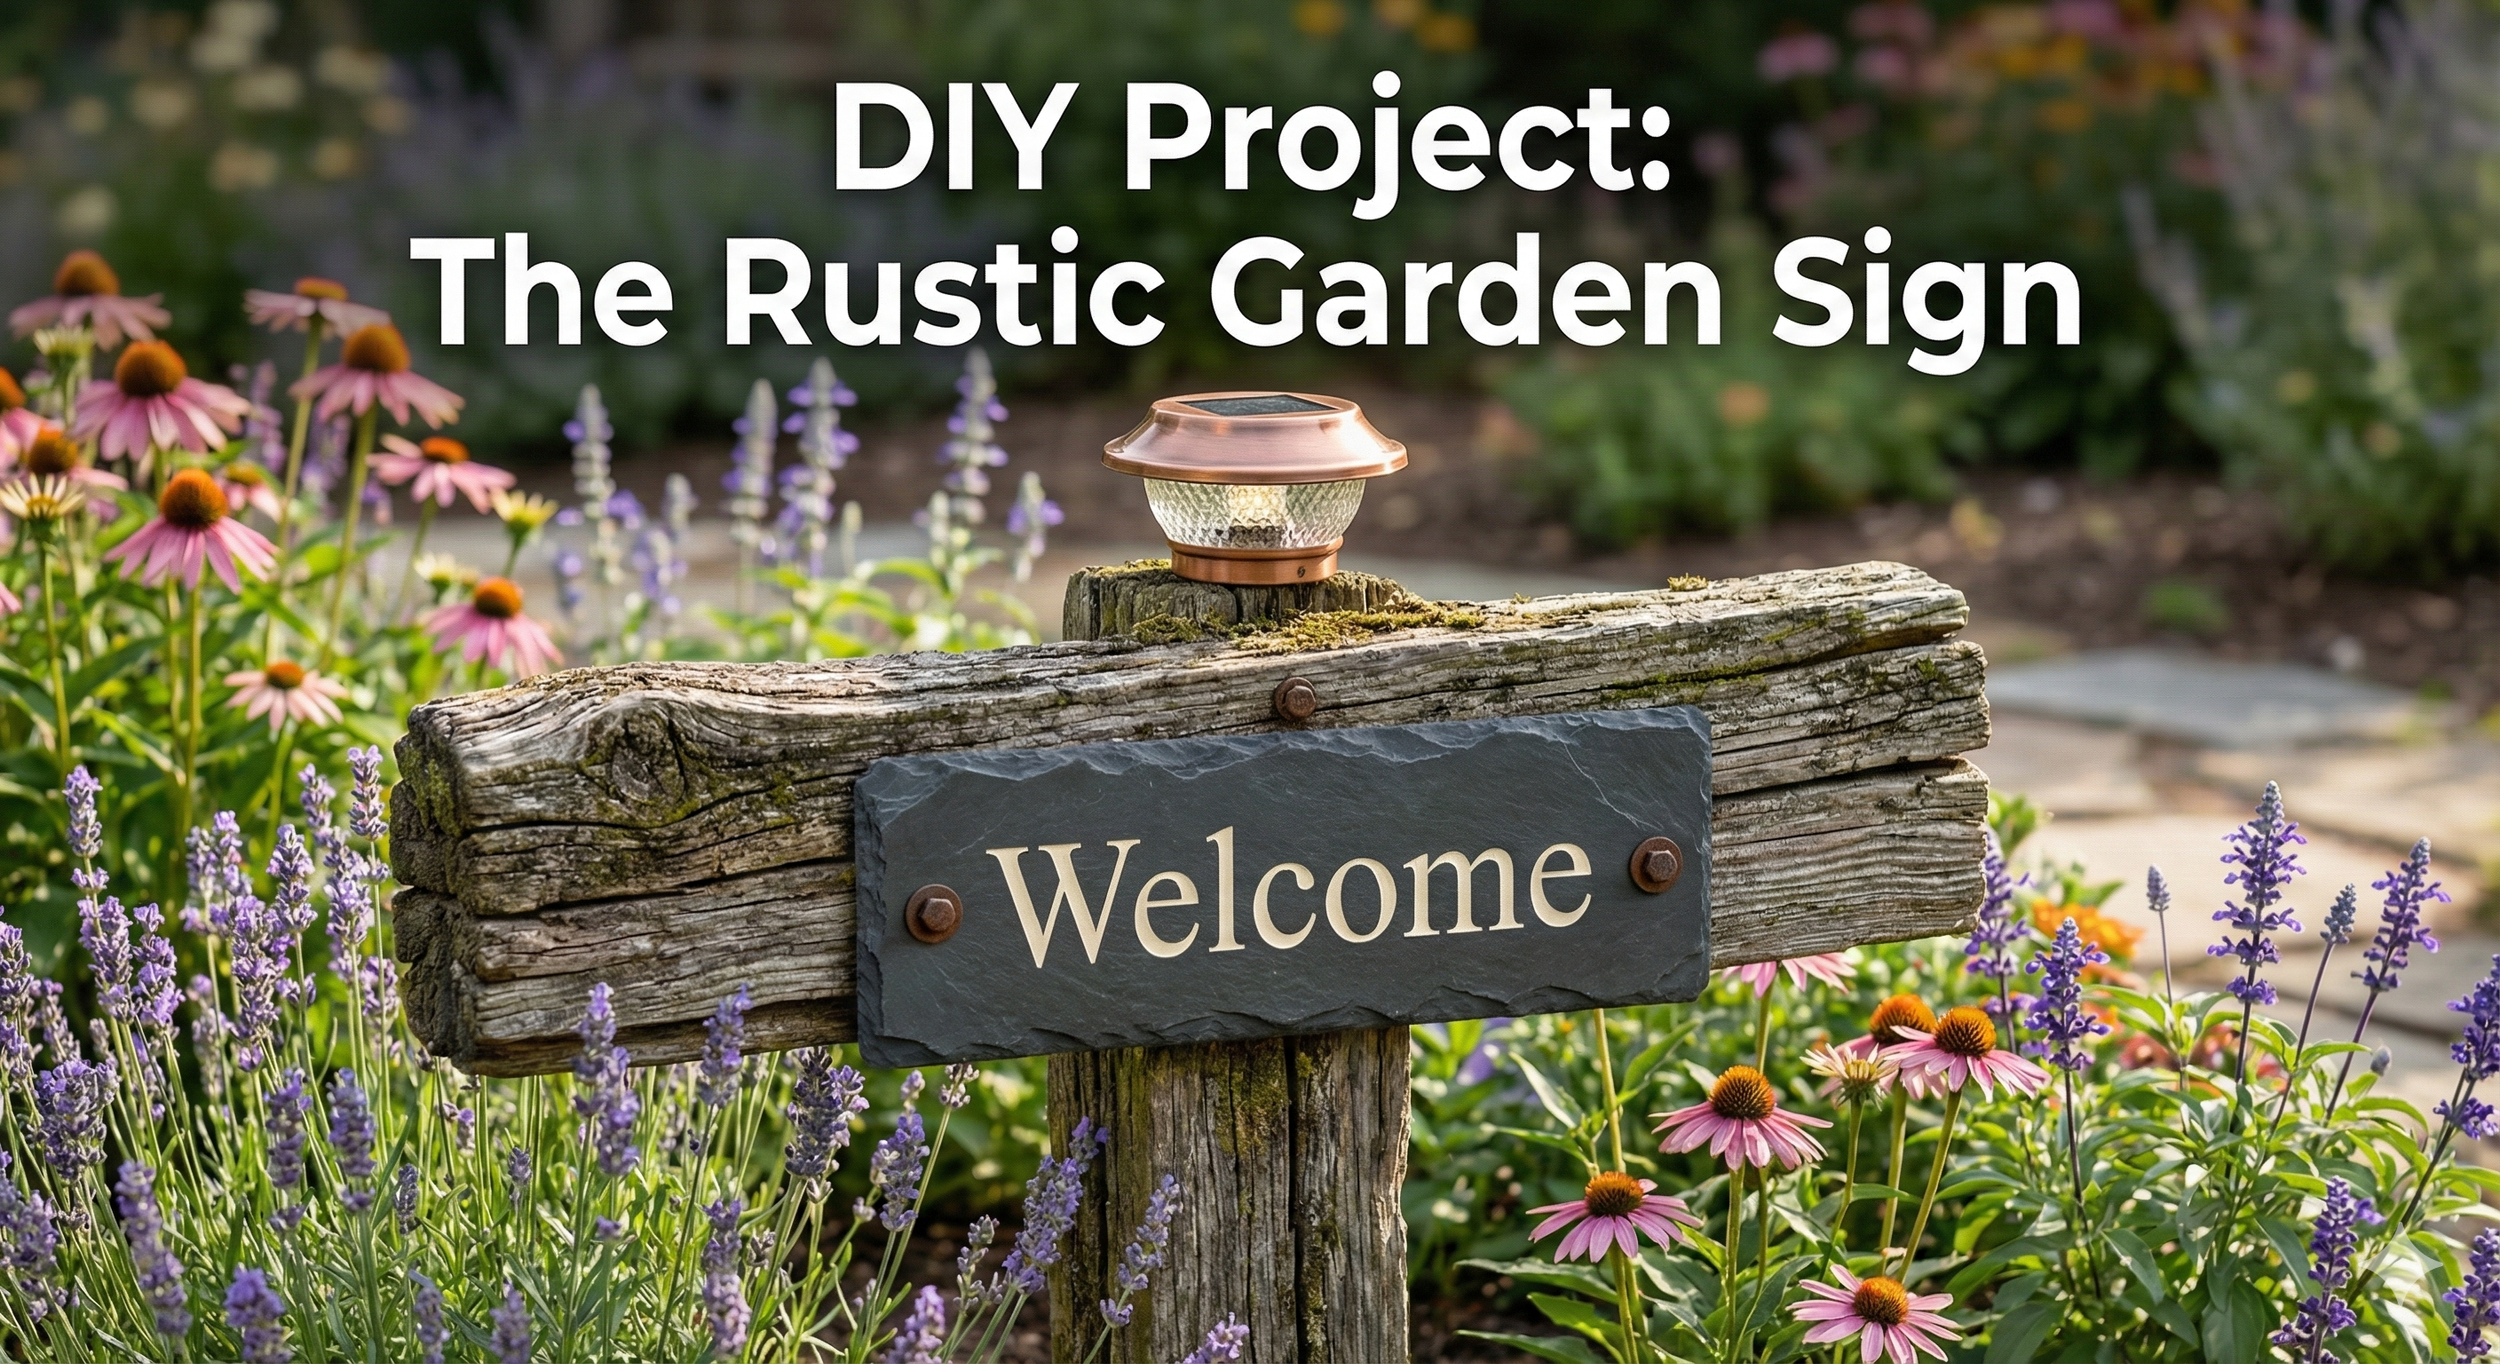
Add instant charm to your garden with this 30-minute project.
Create a Charming Garden Sign Post
Give your garden a voice! Old split rail posts are the perfect width and texture for mounting house numbers, "Welcome" signs, or whimsical garden quotes. Unlike smooth, store-bought lumber, the weathered grooves of a fence post blend naturally into the landscape.
Difficulty: 🟢 Beginner Time Required: 30–60 Minutes
🛠️ Tools & Materials Needed:
1 Sturdy split rail post (cut to desired height)
1 Cross-rail (optional, for a T-shape sign)
Post-hole digger or mallet
Drill and exterior wood screws
Your garden plaque or sign
Wood glue (exterior rated)
Step-by-Step Instructions:
1. Cut and Prep Decide on the height. A standard garden sign usually stands about 3–4 feet above ground. Remember to add 12 inches for the portion that will go underground.
Design Option: If you want a "Cross" or "T" style sign (like a street sign), cut a notch (dado joint) near the top of the post to slot a horizontal rail in, or simply screw a shorter rail piece across the front.
2. Anchor the Post Dig a hole 12 inches deep. Place the post inside and pack the soil tightly around it.
Shortcut: If the soil is soft, you can cut the bottom of the post into a spike shape using a saw and drive it into the ground with a mallet.
3. Mount the Sign
For Wooden Plaques: Pre-drill holes through your sign and into the post to prevent the dry wood from splitting. Use exterior screws.
For Metal/Slate Signs: Apply a generous amount of exterior-grade construction adhesive (like Liquid Nails) to the back of the plaque and clamp it to the post until dry.
4. Add a Finial (Optional) To make it look finished, nail a small birdhouse or a decorative solar cap light to the very top flat surface of the post.
💡 Pro Tip: The "Angled Cut" Cut the very top of your post at a slight angle (about 15 degrees). This allows rainwater to run off the top rather than sitting and soaking into the end grain, which prevents rot.
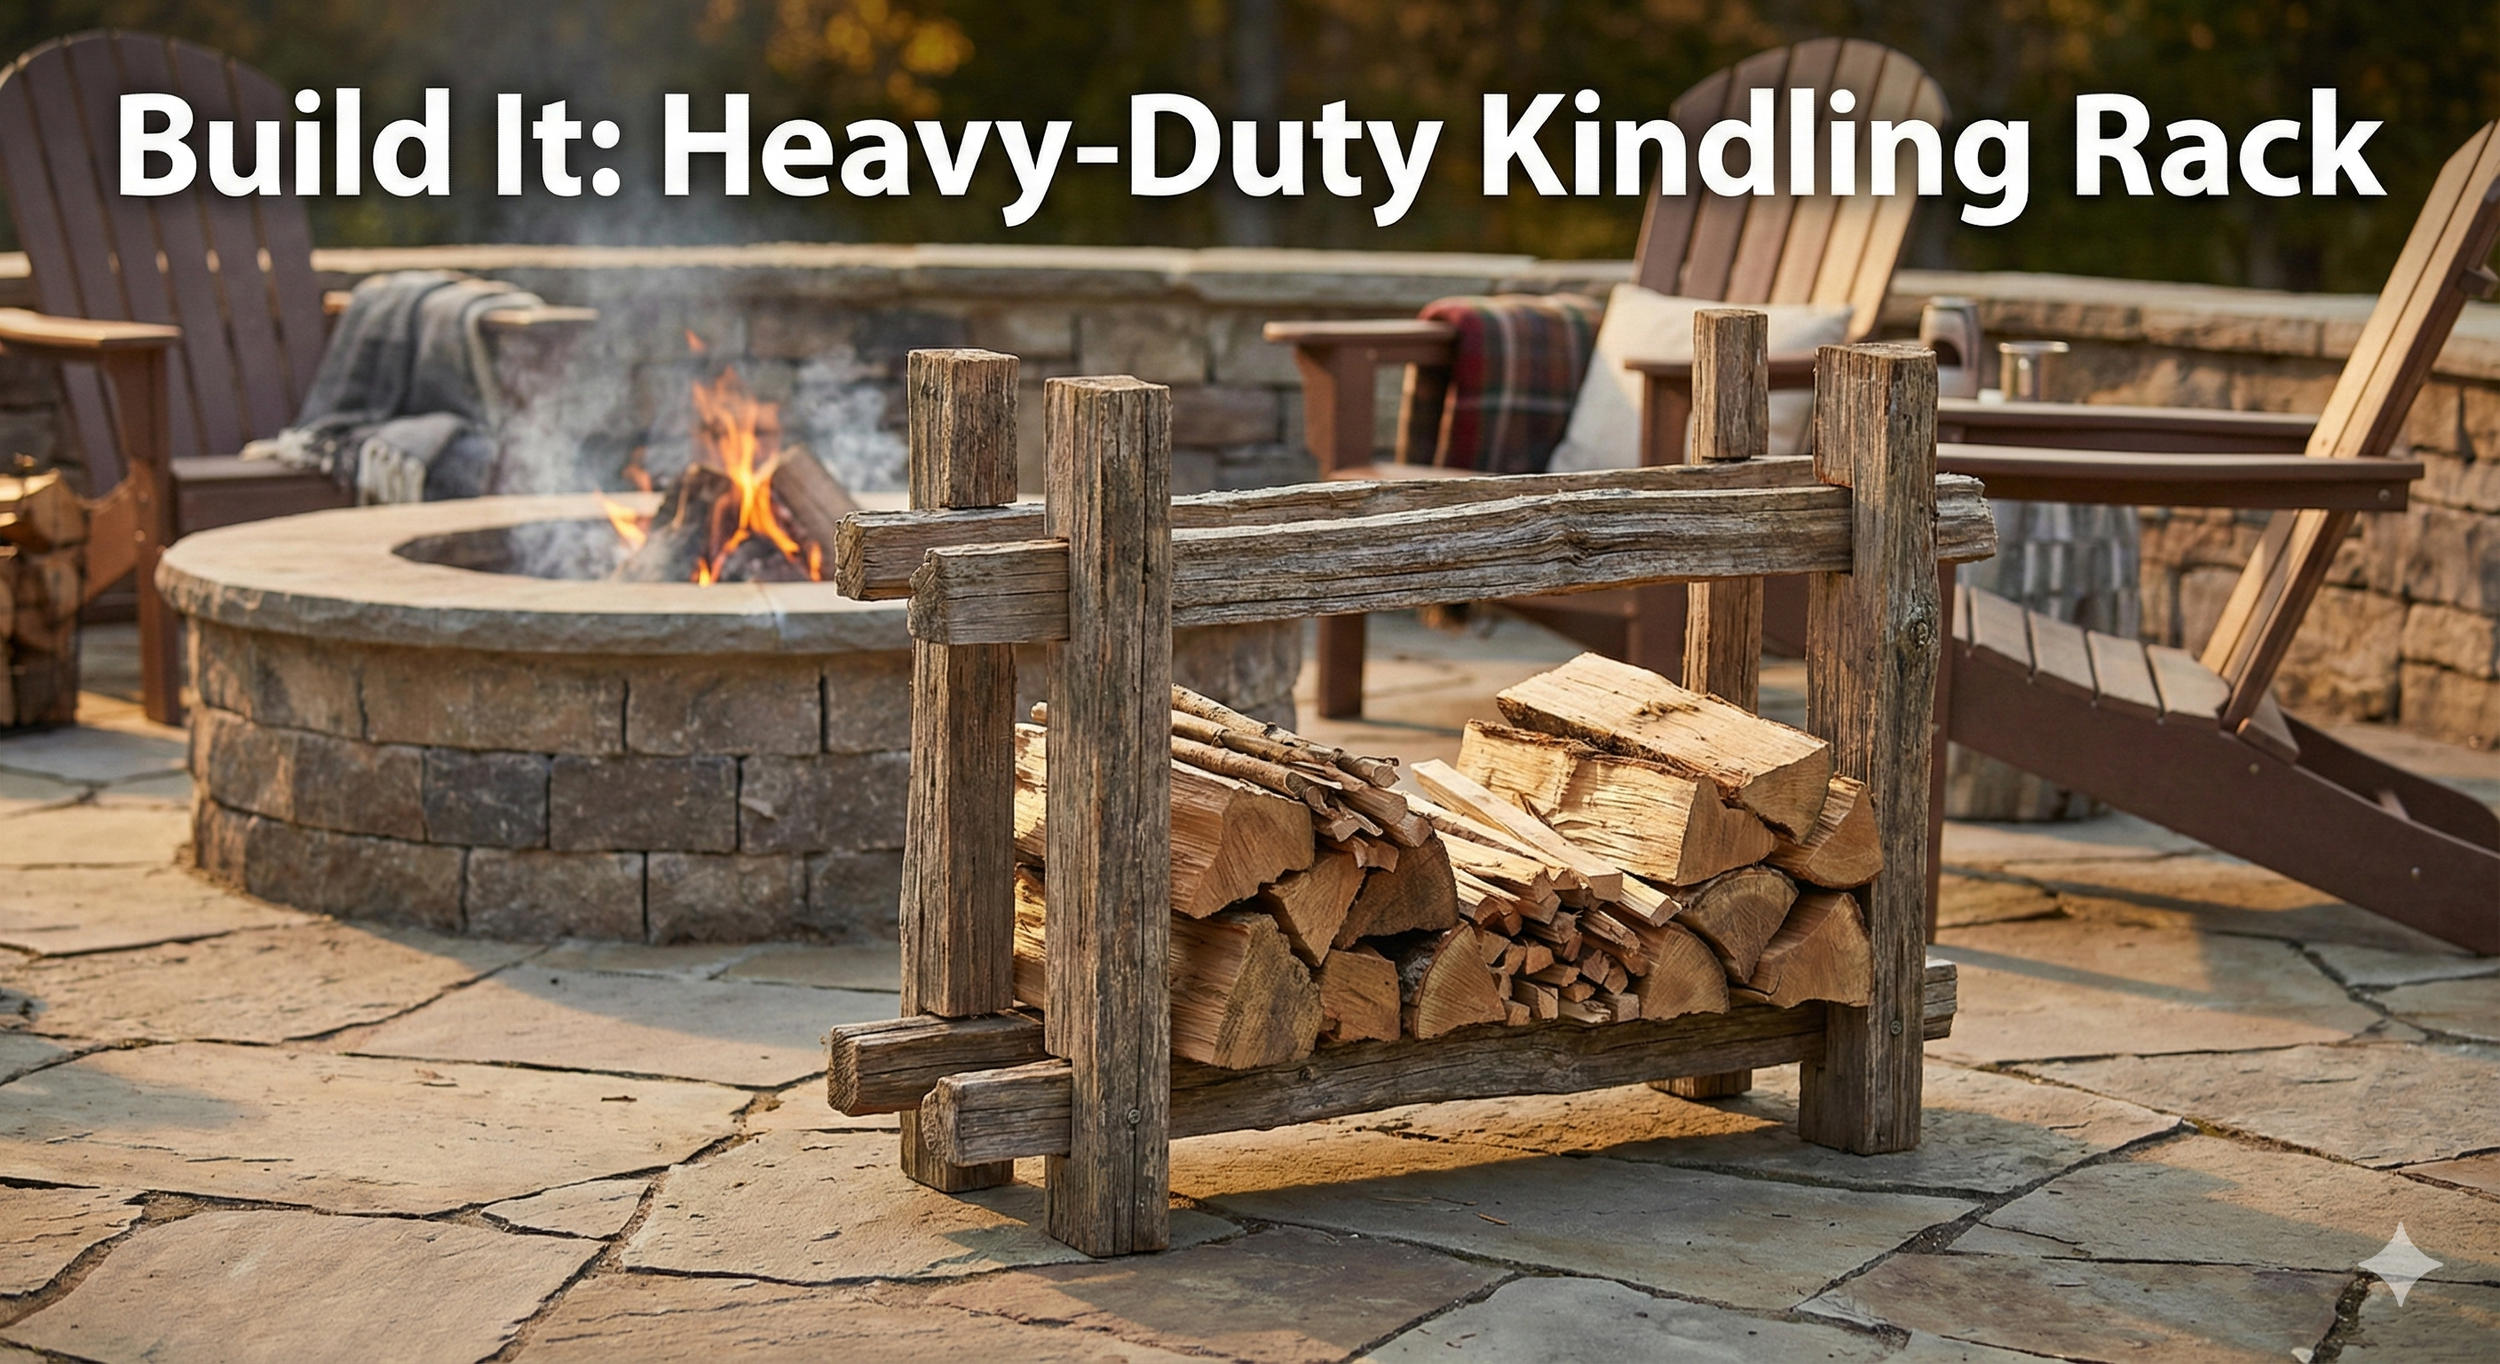
Keep your firewood dry and off the ground with this heavy-duty rack.
Heavy-Duty Kindling Holder
Heading: Build a Weather-Proof Kindling Storage Rack
Stop piling your firewood on the wet ground! A kindling holder made from split rail fence is not only incredibly strong but also looks right at home next to an outdoor fire pit. Because these rails are designed for the outdoors, this holder can stay outside year-round without warping.
Difficulty: 🟢 Beginner / 🟡 Intermediate Time Required: 1–2 Hours
🛠️ Tools & Materials Needed:
2 Split rail posts (for the base)
4 Split rails (for the uprights)
3-inch exterior deck screws or lag bolts
Saw
Drill
Step-by-Step Instructions:
1. Build the Base Cut two pieces of post to roughly 18 inches long. Lay them parallel to each other on the ground, about 12 inches apart. These will serve as the "feet" of the holder, keeping your kindling off the damp ground.
2. Attach the Uprights You want to create a "U" or "V" shape to hold the wood.
Cut four pieces of rail to your desired height (usually 2–3 feet).
Screw one upright vertically into each side of your base "feet." You should end up with two U-shaped structures.
3. Connect the Sides Stand your two U-shaped structures up. Connect them by screwing two long rails horizontally across the sides—one near the bottom and one near the top. This braces the structure and keeps the kindling from falling out the sides.
4. Fill it Up Stack your kindling (sticks, twigs, and small logs) inside the rack. The gaps in the split rail design allow for excellent airflow, which helps keep your kindling dry and ready to burn.
⚠️ Reminder: While this rack is made of treated fence wood, the kindling inside it should be clean, untreated wood. Never burn the rack itself!
Turn a solid post into a blooming centerpiece with this simple guide.
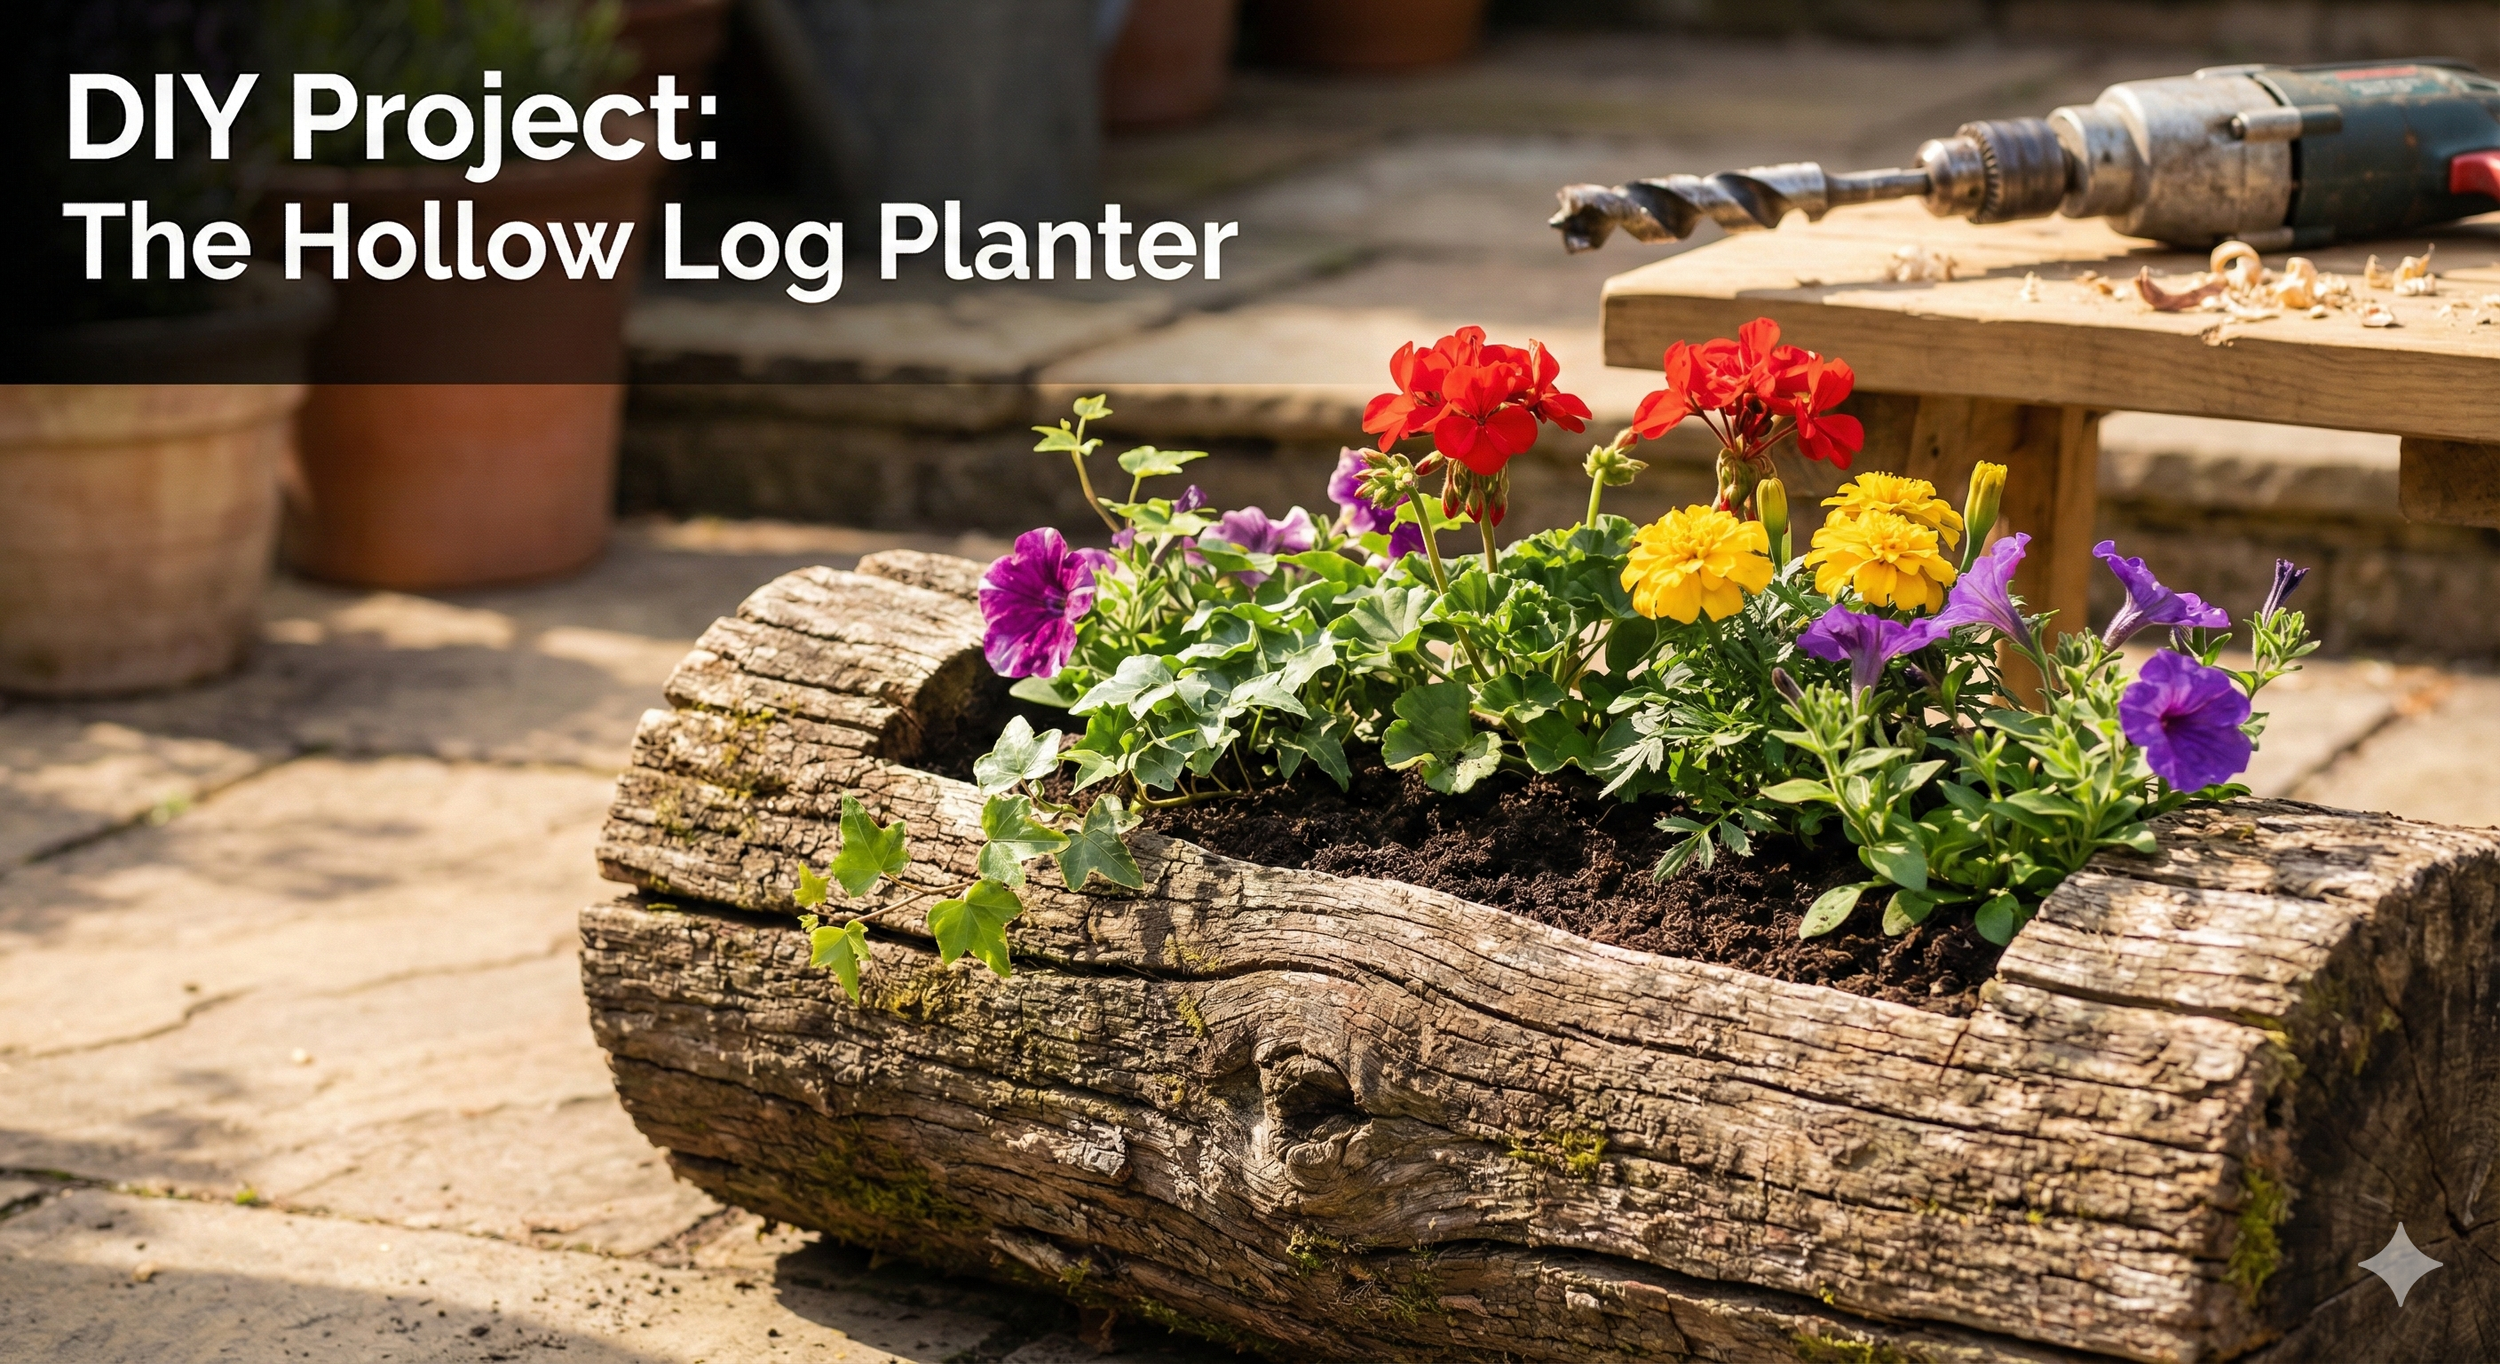
How to Make a Split Rail Planter
Select Your Post: Choose a thick piece of post (at least 6-8 inches in diameter) that is not rotted through.
Mark the Cavity: Draw a rectangle on the top face, leaving at least 2 inches of wood on all sides.
Hollow It Out: Use a drill with a large spade bit to bore out the center, then clean up the edges with a wood chisel.
Drainage: Drill 2-3 small holes through the bottom for water drainage.
Plant: Fill with potting soil and your favorite succulents or annuals!
Achieve the perfect blend of cottage charm and garden protection.
How to Build a Rustic Deer Barrier with Recycled Rails
If your property battles hungry deer, you know that standard deer netting can look unsightly. By repurposing your old split rail fence, you can build a sturdy, "cottage-style" frame that disguises the netting and adds charm to your garden.
Difficulty: 🟡 Intermediate Time Required: 2-4 Hours (depending on size)
🛠️ Tools & Materials Needed:
Old split rail posts and rails (sorted for rot)
Black plastic deer netting or wire mesh
Staple gun and heavy-duty staples
Post-hole digger
Screws or long landscaping spikes
Saw (circular or hand saw)
Step-by-Step Instructions:
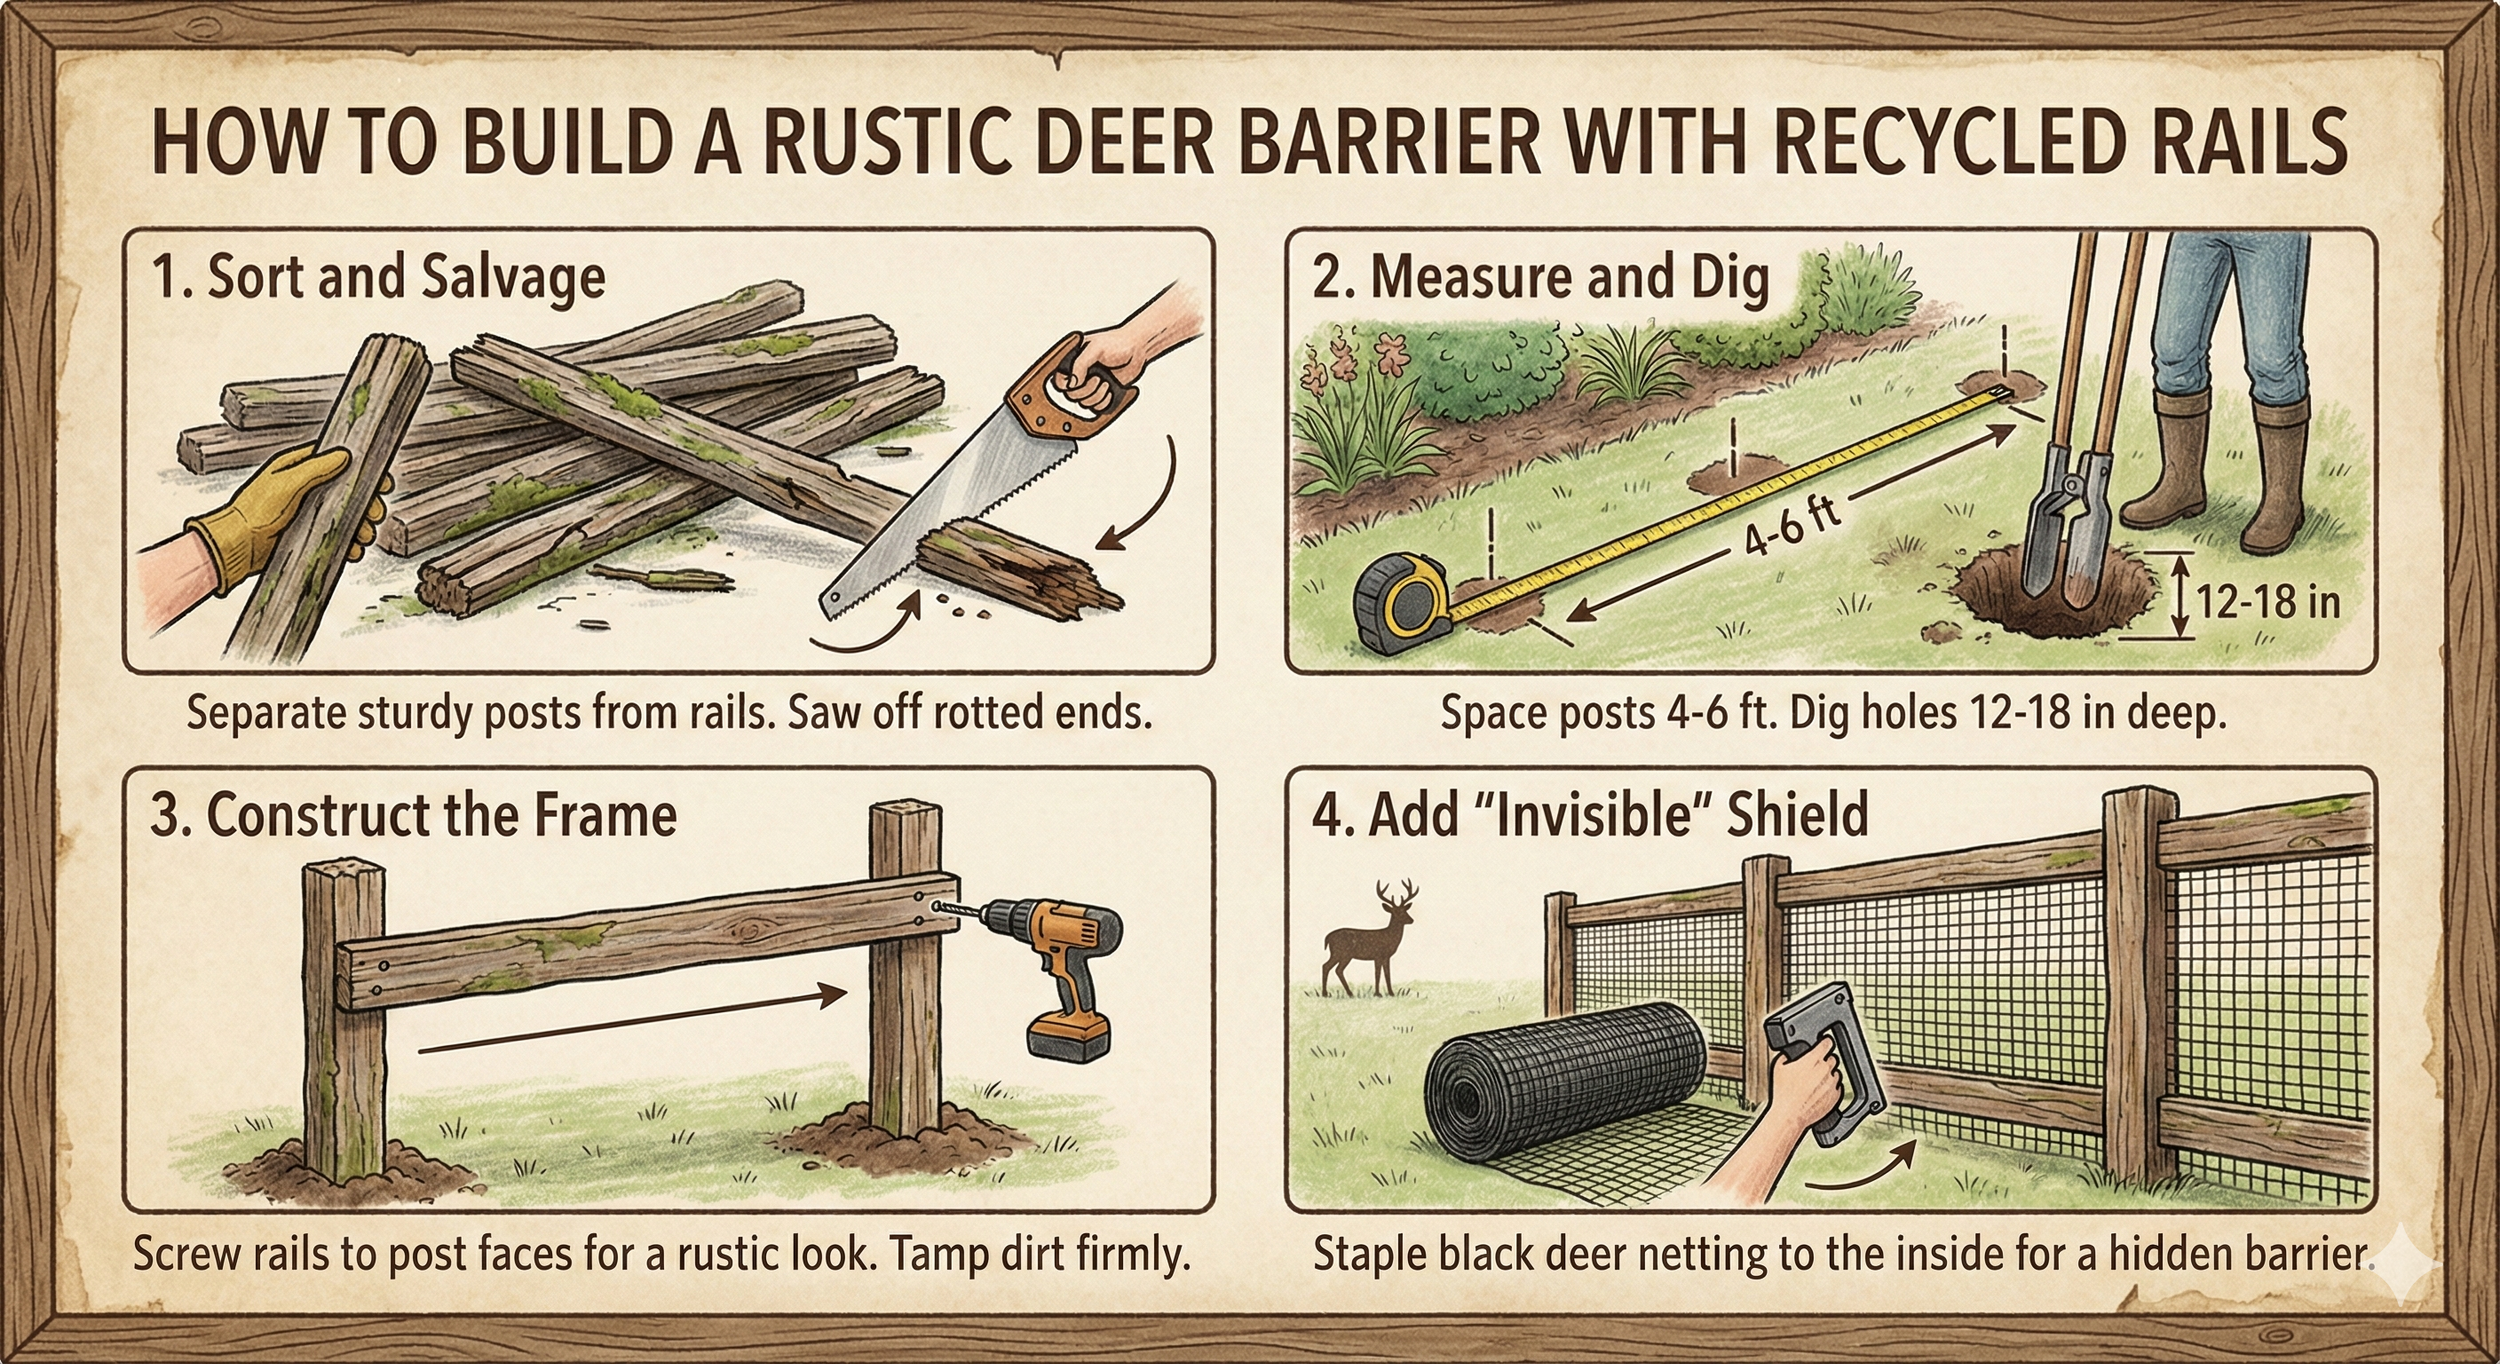
1. Sort and Salvage Before you start digging, sort your wood. Use the sturdiest posts for your uprights. The rails, which might be slightly more weathered, can be cut down to serve as the horizontal cross-sections.
Tip: If the bottom of a post is rotted, saw off the bad section. You can still use the shorter piece for a raised bed corner or a tree guard!
2. Measure and Dig For a garden border, space your posts about 4 to 6 feet apart. Dig holes at least 12–18 inches deep to ensure stability, especially if you live in an area with high winds.
3. Construct the Frame Place your posts in the holes and backfill with dirt, tamping it down firmly.
The Rustic Look: Instead of slotting the rails into holes (which might not line up anymore), screw the rails directly onto the face of the posts. This allows you to create a custom shape or height regardless of the original fence design.
4. The "Invisible" Shield (Crucial Step) Split rails alone have gaps that deer can easily squeeze through or jump over.
Action: Roll out black deer netting and staple it to the inside of your wooden frame.
Why it works: From a distance, the netting disappears, and all you see is the beautiful, weathered wood frame. The wood provides the structure; the net provides the protection.
5. Create "Tree Guards" For individual young trees, cut your rails into short 2-foot or 3-foot sections. Build a small square or triangle box around the base of the sapling. Staple wire mesh to the wood to prevent deer from rubbing their antlers against the trunk.
💡 Pro Tip: Rot Prevention Since you are using old wood, brush the bottom of the posts with a non-toxic wood preservative or copper naphthenate before putting them in the ground. This will give your recycled project several more years of life.
Transform your garden entrance with the character of weathered wood.
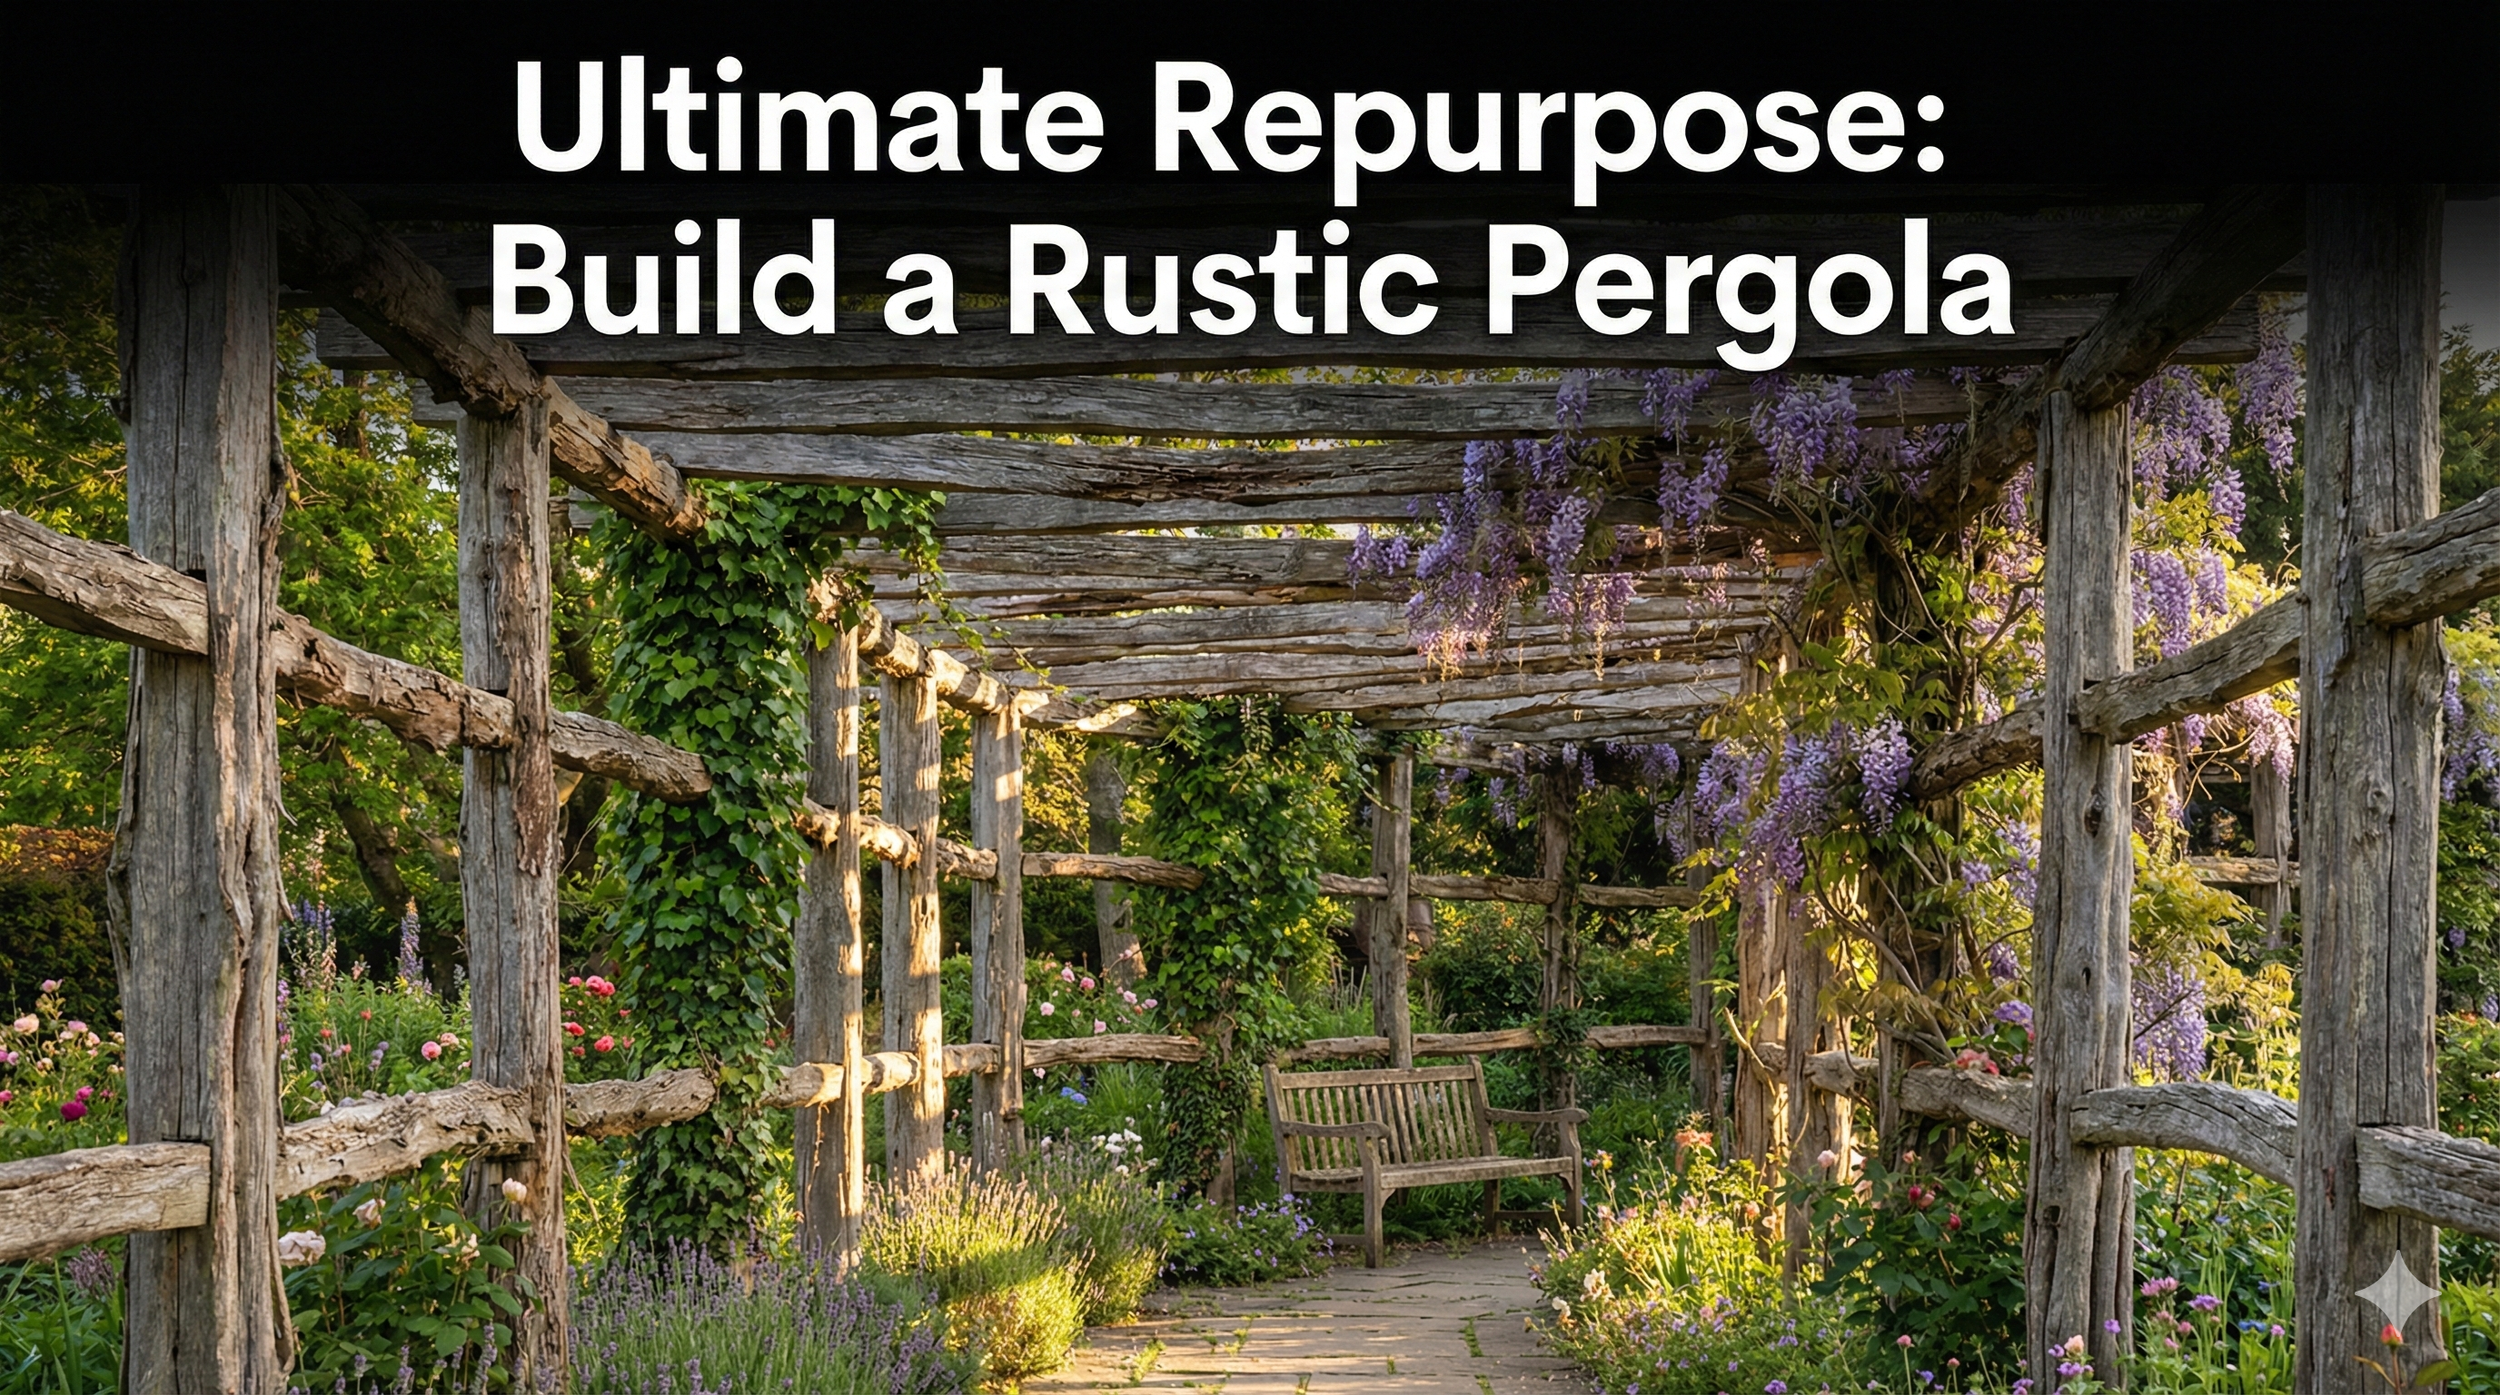
Build a Rustic Pergola or Arbor
Premade pergolas can be expensive and often look generic. If you want a garden entrance that screams "custom character," your old fence is the answer.
Why it works: The natural weathering of split rail fencing provides an instant established look that new lumber takes years to achieve.
Design Tip: Use the sturdy posts for the uprights and the thinner rails for the top cross-beams.
Vibe: Perfect for climbing roses, wisteria, or string lights.
