
 Spanish
 CALL FOR A QUOTE
DIY Guide: What You Need To Know To Build A Split Rail Fence
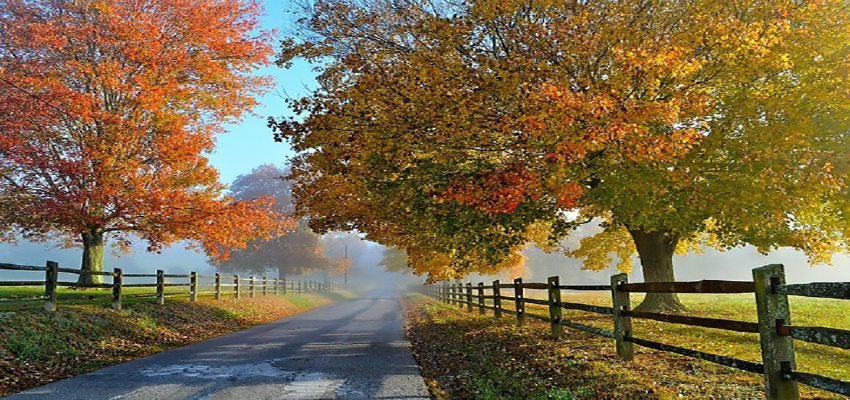
Build a split rail fence for an inexpensive and attractive addition to your yard.
Split rail fencing was one of the earliest forms of fencing in America. There are several reasons for this, and it’s not just because it is inexpensive to build a split rail fence yourself.
Traditionally, split rail fencing was used for all homes because it required few materials or time to install, and most people were farmers with a lot of land. So building a split rail fence with less wood made sense. As time progressed and the populations increased and the towns became cities, fencing became privacy more than simply outlining your territory. Today, most homes with a split rail fence are in the countryside.
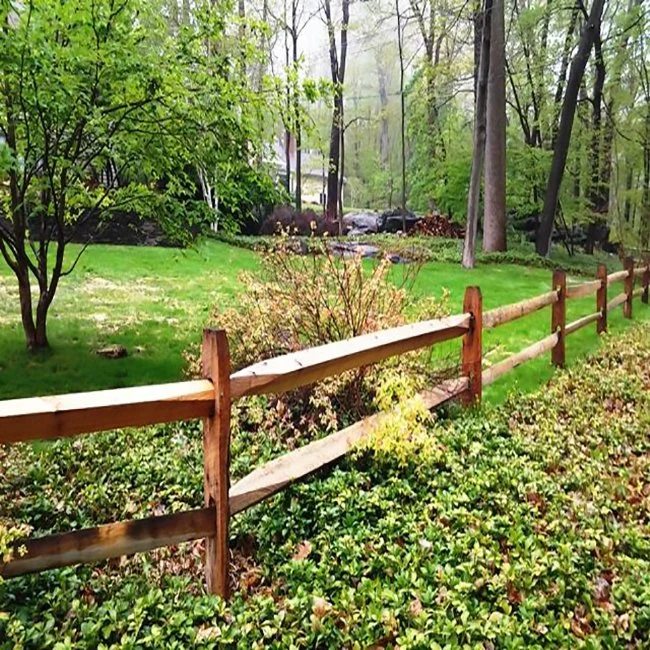
But the suburban areas are slowly picking it up as a way to add more charm to the curb appeal of a home. The primitive design of a split rail fence can give your home and yard a more rustic look, which is gaining in popularity. But there is more to love about a split rail fence than just the look.
Reasons to build a split rail fence:
Less building material needed= cheaper fence
Easier building for hilly properties, will contour to land easier
No maintenance required (will last for a very long time)
Can easily be installed in a day with two people
Rustic appearance
Cost To Build A Split Rail Fence
The average cost, depending on where you live and what materials you purchase, will be anywhere from $12-20 per linear foot, when professionally installed. If you do the fence yourself, it could cost around $8-12 per linear foot. The average linear feet needed for a project is approximately 150 linear feet. If you have the fence professionally installed, you should factor installation costs to be about 25% of the total job.
Most people choose cedar for fencing projects because of it’s durability and affordability. No nails, fence staples or other materials are needed for a split rail fence, which helps to keep the cost low.
Simply:
$12-20 per linear foot, professionally installed
$4-12 per linear foot, self installed
Average 150 linear feet needed
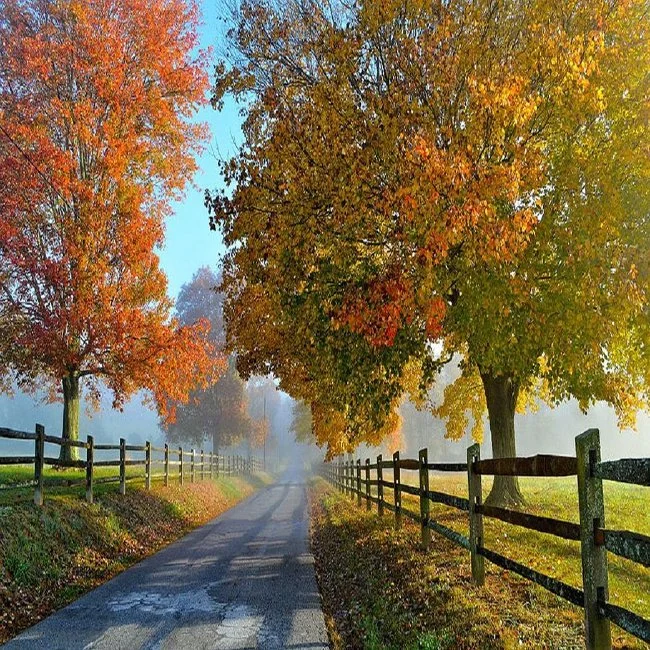
source: images.search.yahoo.com
Steps to build a split rail fence:
If you decide to self install your split rail fence, then you should follow each of these steps accordingly.
Step 1.) Paperwork
Take care of any necessary paperwork. Getting all of the administrative work out of the way will save you time and hassle when it finally comes down to putting in the fence. So research your towns zoning laws to find any local restrictions and ordinances. Sometimes they require a setback from your property line, or have restrictions on fence height.
Then you will need a property survey, which usually comes from your home closing paperwork. You can still get a copy if you can’t find your original.
On the property survey you can sketch out where you want your split rail fence to go.
Call 811, which will connect you to a non-profit that will send utility companies to mark your property lines, just to make sure you won’t be digging straight into a pipeline.
From there you can take the sketch to the building department and file a permit.
It all sounds like a lot but it is much simpler than it seems.
Step 2.) Establish outline
Now that you have all the paperwork and the rights to continue your project, you need to set an outline of where you fence will be in your actual yard.
Drive stakes into the ground at each corner or end post, as well as a few stakes between each point. You can then use mason’s string to connect each stake, tying each at 12 inches above grade. You can measure out to each post from the house to ensure they are equidistant, if you’d like consistency.
Step 3.) Mark post locations
Lay rails along the perimeter, overlapping their ends by 6 inches. This is where you will dig the holes for each post. Mark the ground with spray paint.
Step 4.) Set split rail height
Each post needs to be marked at 36 inches from its bottom end. This leaves 24 inches for the depth of the whole and 12 inches from the ground to the first railing.
Once marked, you can lay a post next to each spray painted post hole marker.
Step 5.) Dig post holes
Use a post-hole digger to dig holes 24 inches deep and 10 inches wide. You will set the posts in each hole once dug. Make sure that all of the markers on the posts line up. If you need to, dig deeper or add dirt to the hole to ensure that the post is at the correct height.
Once positioned correctly you can fill the holes with cement. In some states simply using compacted dirt or gravel could be fine to keep the fence stabilized. In Colorado, the rough winds and intense weather requires fence posts to be secured with cement.
Step 6.) Install split rails
All you have to do now is to slide the rails into their appropriate slots on the posts.
Once your rails are in place, this fence will last for decades with no maintenance required. If you stain or paint your fence it will even prolong the life of the wood even further.
To get an estimate on fencing materials, you can contact us, Rocky Mountain Forest Products, by calling 303-925-9187
